ETA version 2.1 is now available from your favourite App Store. With it brings a raft of improvements and new features.
These include:
With the introduction of all these new features we thought it wise to put together our tips and tricks on how to get the best from ETA.
Without any further ado here they are:
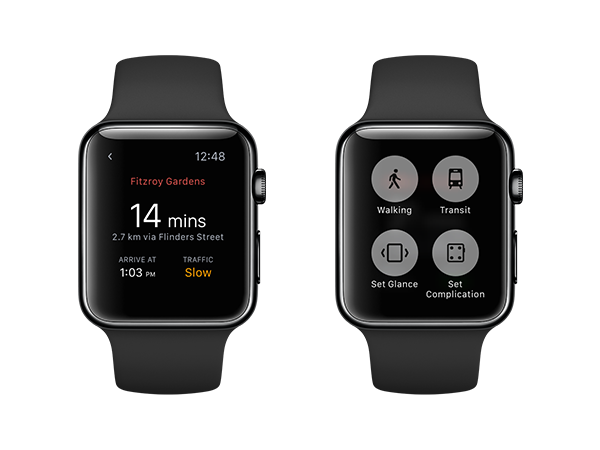
ETA defaults the complication to your second location in the list. Why the second? Well, simply because the glance defaults to the first. If this isn’t your cup of tea then follow the steps below to change it:
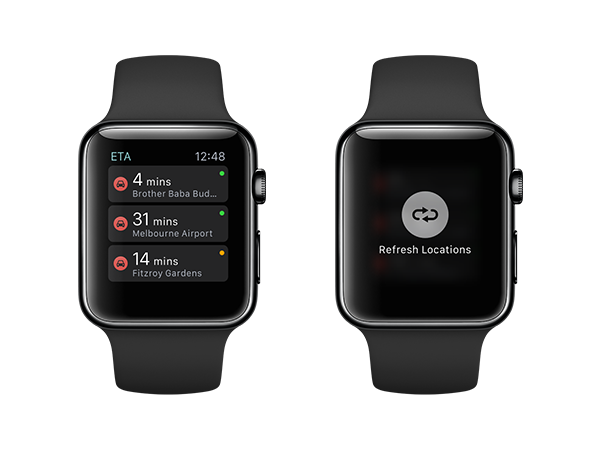
Sometimes data doesn’t get loaded into ETA. There doesn’t seem to be any rhyme or reason to this. If you’re one of the unlucky ones don’t fret, follow the simple steps below to manually force a reload
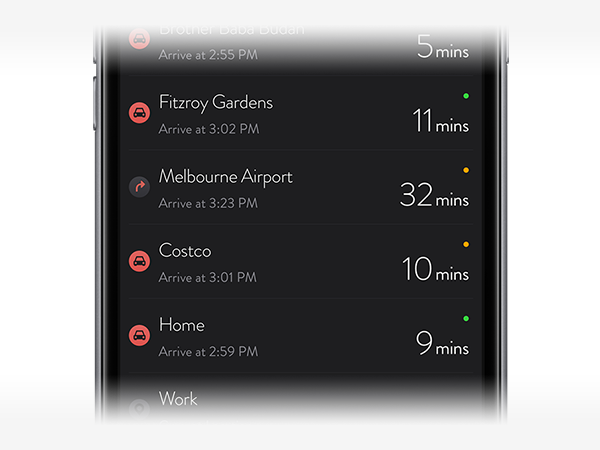
Most users are familiar with changing travel mode from driving to walking or transit via the switch found at the bottom of a location’s detail screen. What many don’t know if you can do this directly on the location list screen.
Simply swipe from left to right. One swipe switches to walking, another to transit and one more back to driving.

Obtaining turn-by-turn directions from your favourite maps app can be accessed via a location’s detail screen. But did you know you can also double tap the travel mode icon of a location on the listing screen? You didn’t? Well now you do! :)
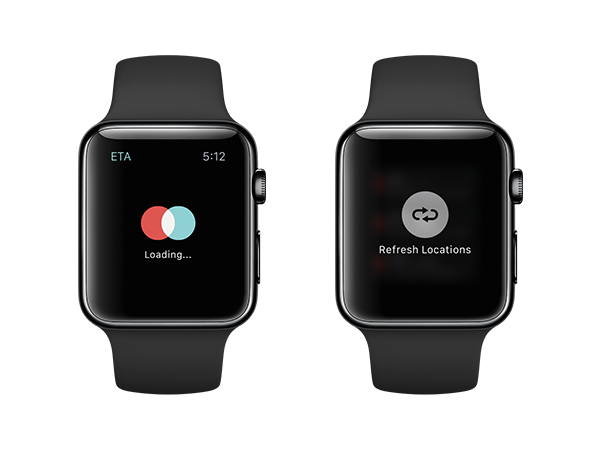
For some users when you first load the Apple Watch app it remains stuck on ‘Loading…’. We’re looking into this and hope to have an update out shortly that fixes the issue.
In the meantime simply force touch on the screen and choose ‘Refresh Locations’. This should hopefully remove the ‘Loading…’ text and image and display your location list.
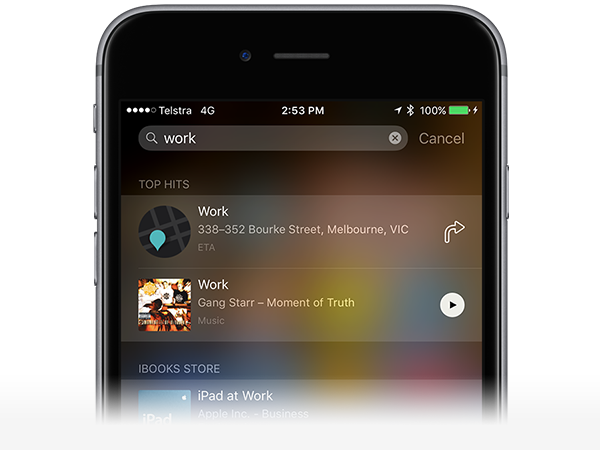
With iOS 9 we now index all your locations so you can simply search for them in Spotlight. Pull down or swipe left to enter Spotlight and search for a location by name (or simply search for ‘ETA’). You’ll see your location appear. Tap on the location to view the detail screen in ETA. Tap the arrow to launch turn-by-turn directions in Apple Maps.
You might have noticed a little traffic system on ETA’s Apple Watch complication. On ETA for iPhone we use coloured beacons to indicate the traffic situation with red = heavy, orange = slow and green = good.
Not all Apple Watch faces are coloured so we needed a system to indicate traffic without using colour. With that we an icon system. The ‘cross’ = heavy, the ‘minus’ = slow’ and ‘green’ = good. If you switch to a multicoloured watch face you’ll see this re-enforced with colour.

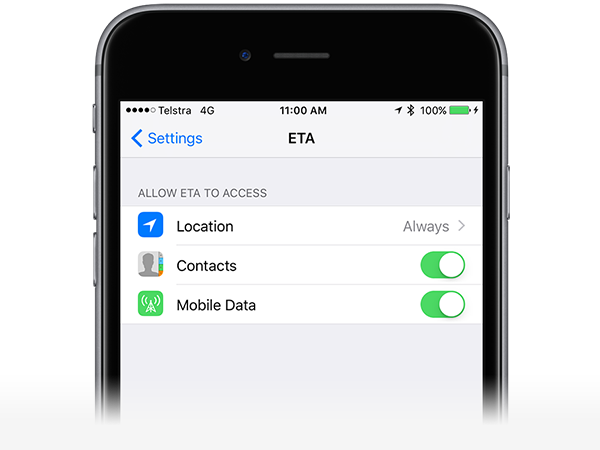
The complication should update roughly every 15 minutes. The one change it requires is location access has to be set to ‘Always’ on your iPhone rather than the default ‘When in Use’. Double check you have this set in ‘iPhone Settings App’ -> ‘ETA’ -> ‘Location’.
That’s about it for now. We’ll add more tips and tricks as questions file in from from our awesome users!
If you're still having issues then please send us an email!